Notifications
Overview
The Data Analytics System platform includes a built-in notification system designed to keep users informed about the current status of ongoing activities and processes.
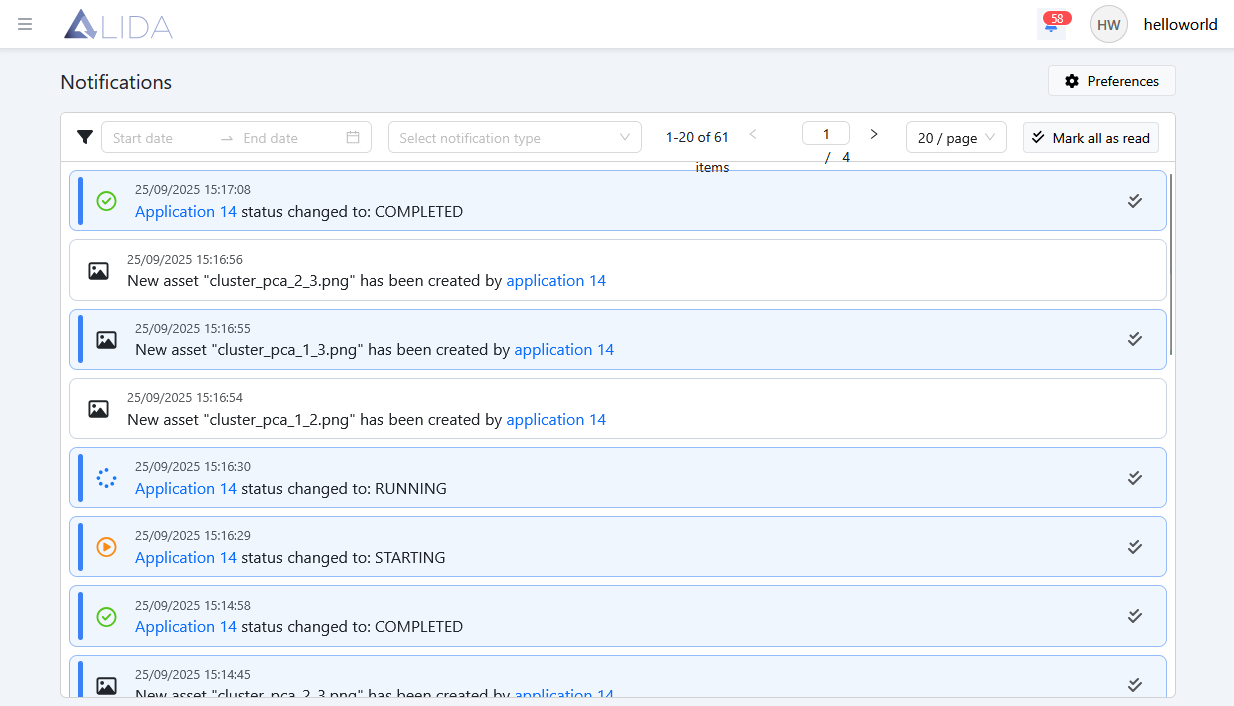
By clicking the bell icon located at the top right of the navigation bar, users can access the notifications list:
![]()
From this interface, users can filter notifications by date or time, navigate between pages, and select how many notifications to display per page.
Users can mark individual notifications as “read” by clicking the Mark as read button ( ),
),
or mark all notifications as read using the  button located at the top right corner.
Notification Preferences
Users can customize their notification settings by accessing the Notification Preferences section through the
 button, available on the notifications list page.
Notification preferences are organized into three main categories:
- Web Preferences — controls notifications displayed directly in the browser
- Feed Preferences — manages notifications sent via email
- Triggers — allows configuration of REST requests to be automatically sent when a specific event occurs (webhooks)
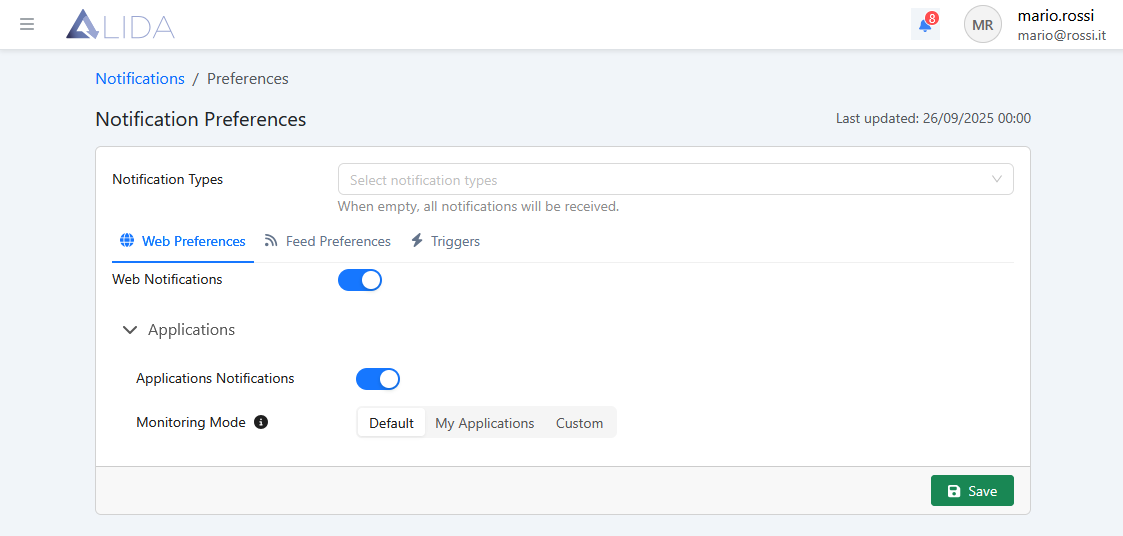
Web Preferences
From this section, users can:
- Disable all web notifications
- Disable notifications related to running Workflows
- Specify which Workflows will generate notifications
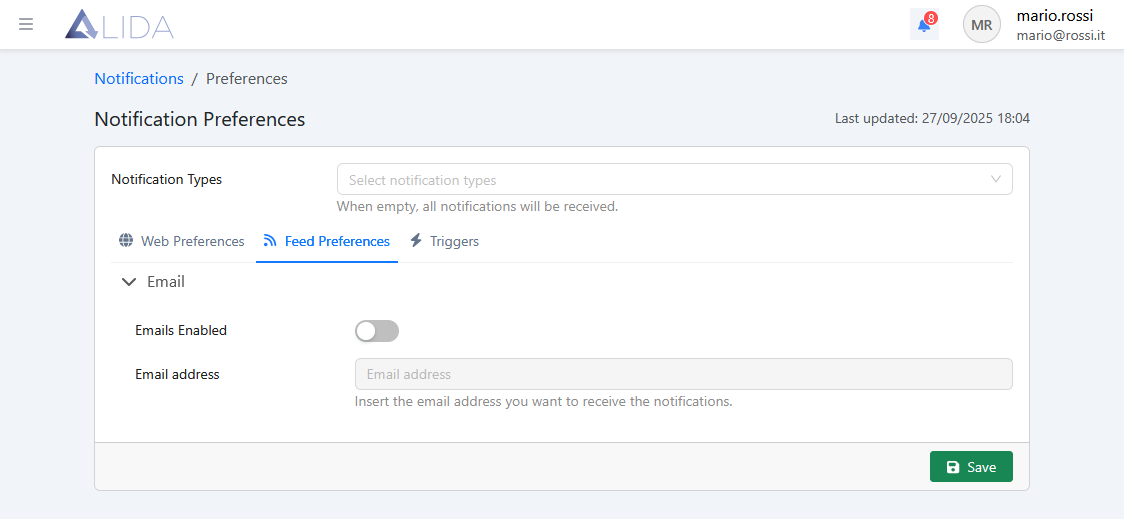
Feed Preferences
This section allows users to enable email notifications and configure the recipient email address.
Triggers
When a notification event occurs, a custom HTTP request can be automatically triggered.
Users can specify the request parameters and the triggering conditions.
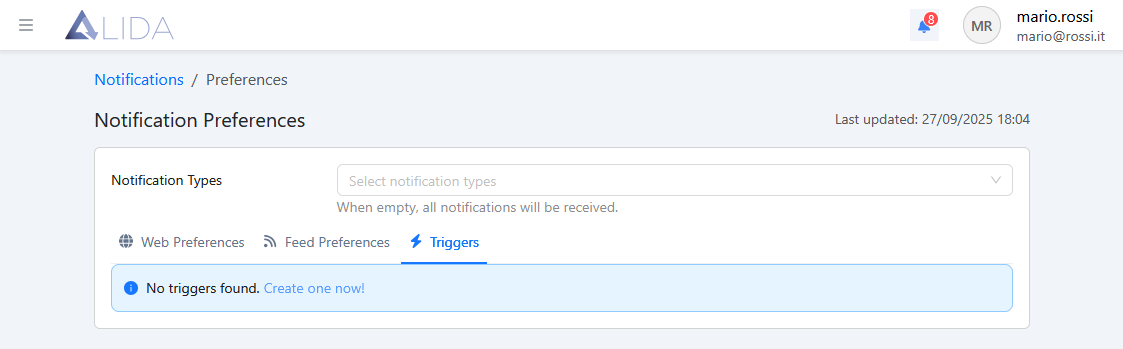
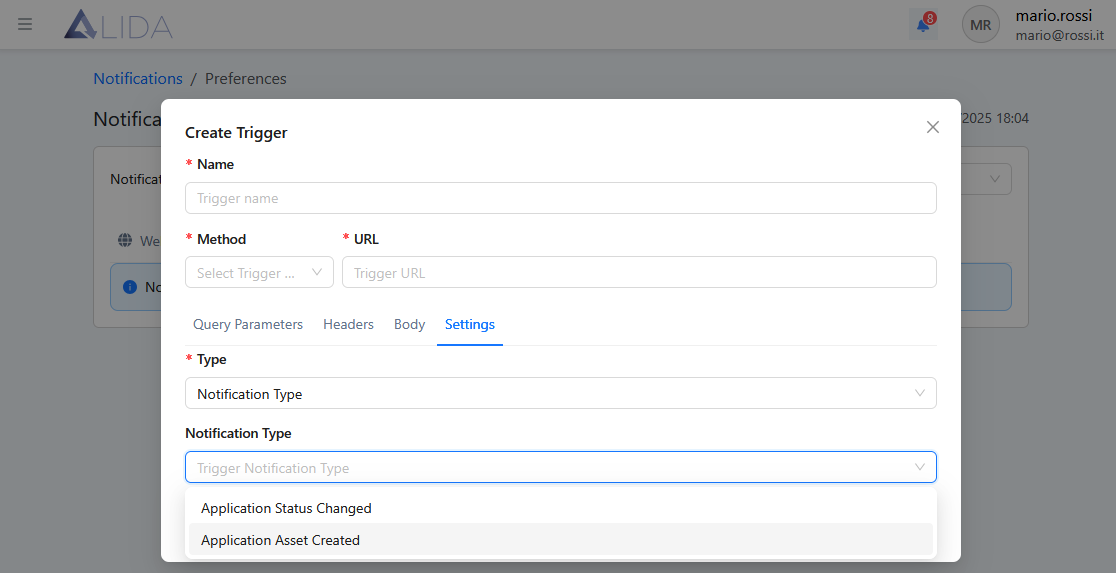
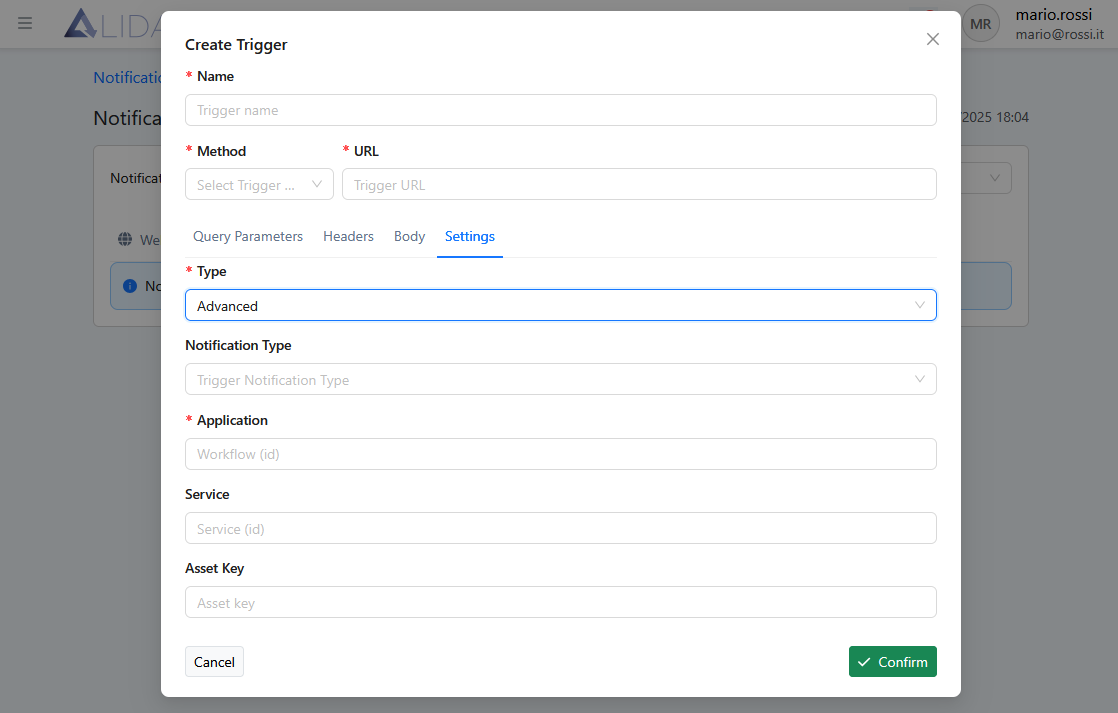
To create a new trigger, use the Create Trigger option and configure its parameters as shown below:
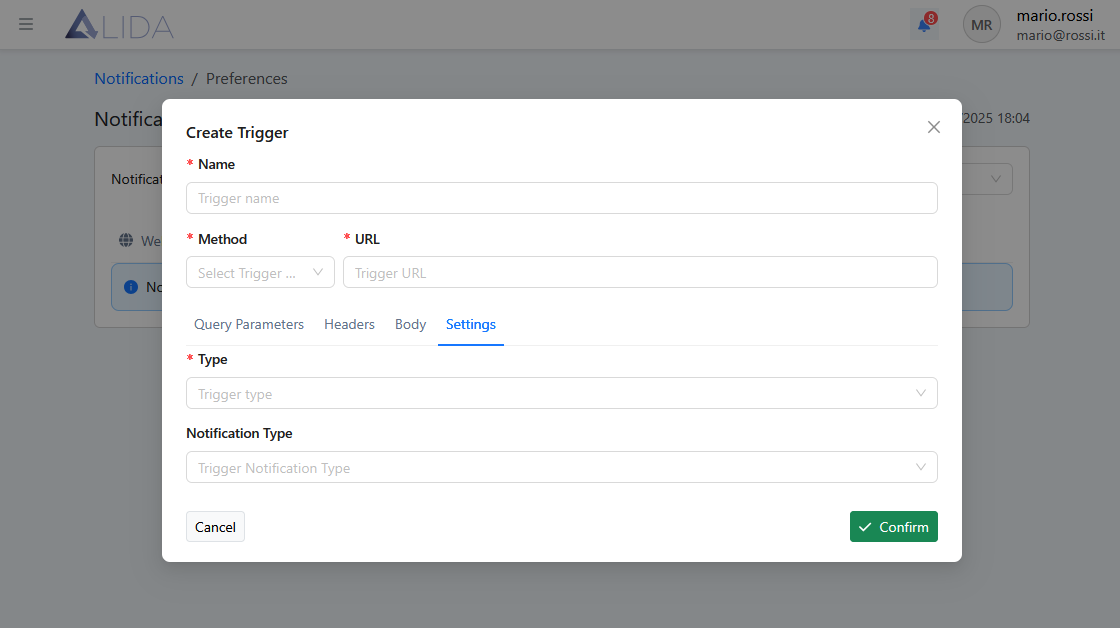
You can also refine your configuration by specifying the notification type or advanced request options: